How to Gild a Frame
March 24th, 2009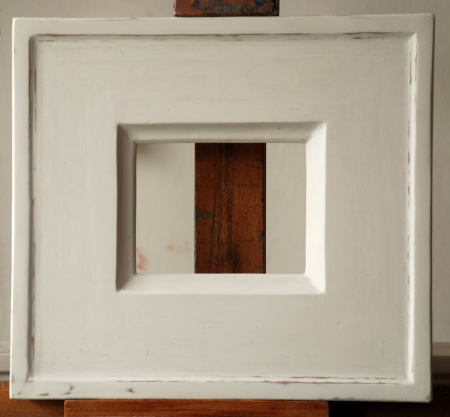
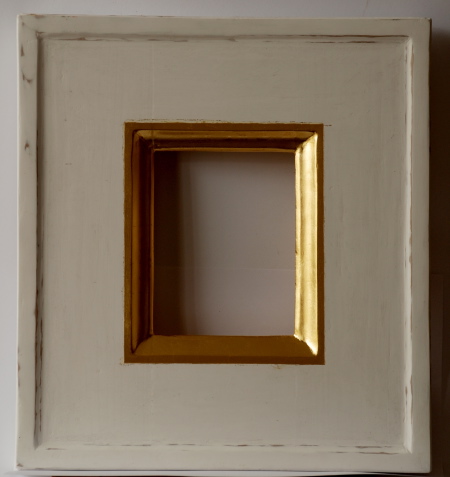
A frame covered with acrylic gesso, ready to begin with the gilding process. I have previously sanded the gesso with wet emery paper and polished with the finest paper where the gold is to come.
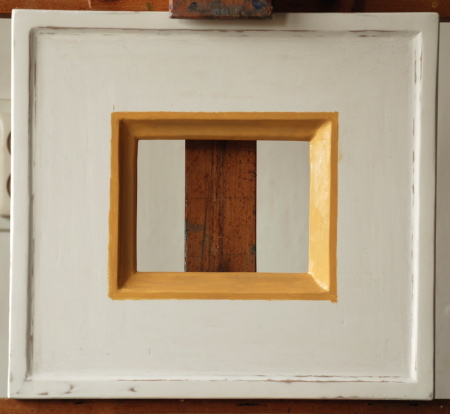
To attach the gold to the frame, I use a mordant which is simply oil paint with extra thick oil and some oil varnish blended in. When the mordant dries but is still sticky, gold leaf will adhere to it.
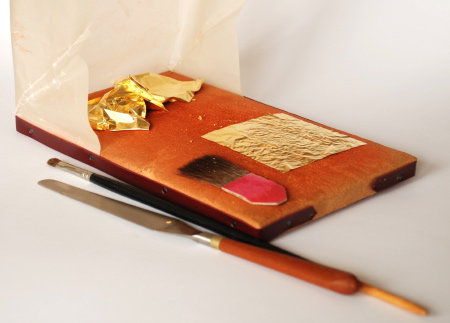
This picture shows gilding tools used for both water and oil gilding. The gold leaf is held and cut on a leather palette. A knife, similar to a painting knife, is used to cut the gold as necessary. Brushes are used to move the gold to the place to be gilded, and to press it into the mordant as necessary.
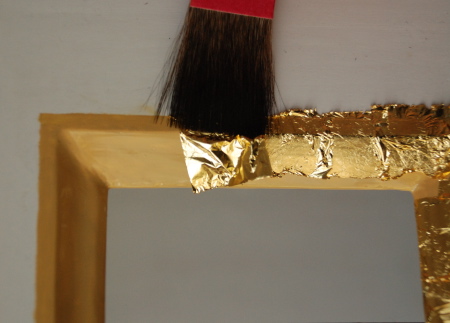
I use the flat brush to move the gold leaf to the frame and to press it gently onto the mordant. I work with the frame on an easel for two reasons: 1) so that dust doesn't fall onto the mordant; 2) so that I can use gravity to let the leaf hang down, allowing me to move it onto the mordant as I choose in the next step.
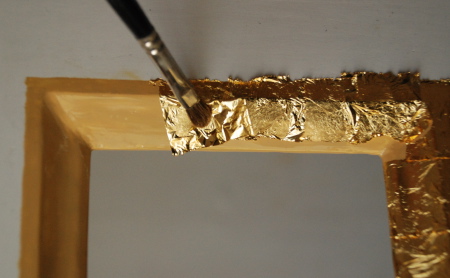
Then I use a soft paint brush to press the leaf further against the mordant. At first I don't attempt to smooth the leaf. It is better to have the leaf wrinkle than to have it stretch and break.
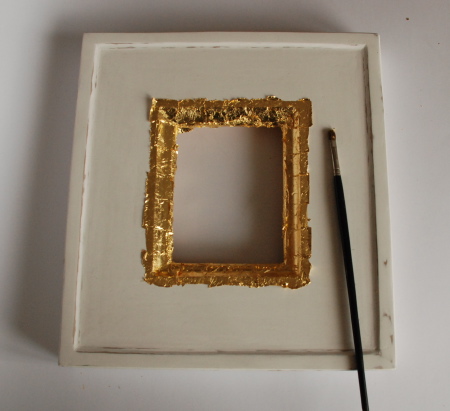
Here the entire mordant is covered with loose-fitting gold leaf. The next step is faulting. I lay the frame flat on a table. Now my goal is to gently press the gold down into the mordant more completely. In the process, I want to detach excess gold and move it to places where more gold is needed. Having the frame flat lets me use gravity. If the frame were vertical, the excess leaf would simply fall on the floor before I could move it elsewhere on the frame.
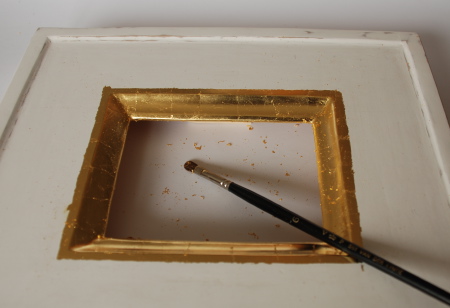
Here I have removed much of the excess leaf, and filled in the gaps where there was no leaf.
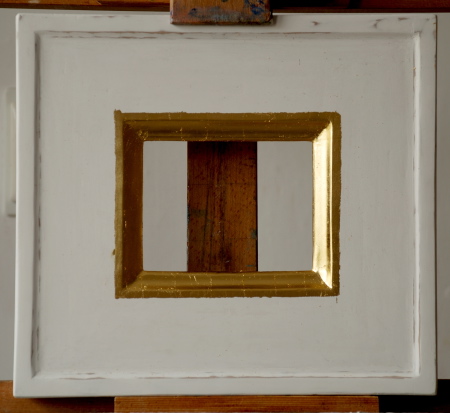
Here I have smoothed down the gold and faulted. At this point I will set the frame aside so that the mordant can harden and I can rub the gold leaf to smooth out the little bits of leaf that remain sticking up. If I tried that at this stage, I might ruin the gilding.
After letting the frame sit for a week, I rub it with a fingertip and a clean smooth cloth to smooth off the final rough edges of the leaf. This requires great care.